Friday, November 13, 2015
How to Creat a DIY Hammock

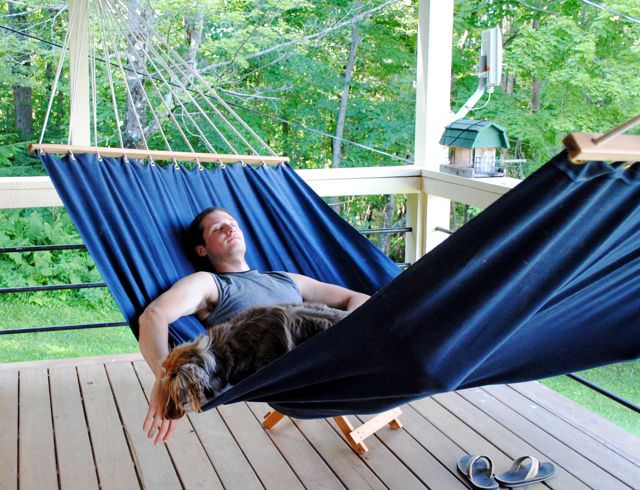
At least three seasons of the year, a hammock can be your best friend in the garden.
All the planning and work and planting you do in your garden space means nothing if you don’t spend time enjoying it. And isn’t the garden all about a peaceful retreat?
Well, retreat to your DIY hammock that you made,and spend time pondering life, reading a good book, or taking a well deserved nap. Better yet, snuggle up with your S.O and take a nap for two!
Below are the full instructions for those of you who want to give the project a shot.
What You'll Need:
2.5 to 3 yards of heavy canvas fabric
Grommet tool and at least 20 grommets
2 hardwood beams 1.25 inches thick x 2 inches wide x length of your hammock's width
Drill & 1/2 inch drill bit
100 feet of quarter inch cotton rope
2 large metal "O" rings
Step 1: Select a fabric
I choose a very heavy weight canvas fabric and bought 3 yards. We knew that ours would go under a covered porch, so I did not worry about waterproof fabric, but if yours will go outside in the open, check out the outdoor upholstery fabrics. Make sure it is extremely durable and heavy duty to handle all the weight it will support.
Step 2: Sew the ends
I folded the ends over 2.5" inches and ironed them to keep the fold down before folding them over a second time. I ironed again, then sewed the hem. The double fold has two advantages: 1) it creates a stronger edge for the grommets that will eventually be added, and 2) folding over twice hides the rough edge of the fabric. You can also add a separate strip of sturdy fabric or even board inside the hem for additional reinforcement.
The side with the showing fold will be the bottom of your hammock. I did not sew the length of the fabric because it had finished selvage edges and was already about the right width for a hammock.

Step 3: Measure and mark grommet holes
I wanted to use 11 grommets on each end, so I made my measurements to ensure even spacing, then marked the grommet locations with a marker on the bottom side of the hammock fabric.

Step 4: Cut holes for grommets
The simple grommet tool I bought couldn't cut through three layers of canvas, so instead I cut the holes myself with an Xacto knife. The holes will be covered by grommets, so they don't have to be perfect.


Step 5: Add grommets
Follow the instructions that come with your grommet tool to add your grommets or - even better - watch This YouTube video. Setting grommets is not difficult, but I found the quick tutorial to be very helpful. Use grommets with a 1/2" center hole or larger.
Grommets have front and back sides, so make sure you are placing them correctly on your hammock.


Step 6: Make your wood beams
The wood beams threaded through the string at either end of your hammock keep it open so as not to close on you like a cocoon when you get in.
Cut two hardwood beams to the length of your hammock ends and drill 1/2" holes in the beam to match up with your grommet spacing. The thickness of the beam should be at least an inch, but the width is up to you. Most hammocks have a beam that is somewhere around 2-5" wide. We sanded the beam after cutting and applied a few coats of polyurethane for protection.
Step 7: Add the hammock string
We chose to make a board with hooks to string our hammock because it makes the process easier, but you can string without a board. Simply find a hook or knob that your O ring can hang on as you loop the string, and secure your hammock fabric to the ground with books or other heavy objects so it does not move while you're threading the string through the grommets.
To start, cut your string into two 50' pieces, then set your hammock fabric on the ground, right side up, and place your wood beam with 1/2" holes on top of the grommets. Again, the weaving is not complicated, but it is easier to watch a video. We used the one below. The only thing we did different is instead of just looping the string on the board hooks, we looped it through our hammock grommets and wood beam on each pass as well (see my pictures below for a better visual on this).
Here are a few pics of our weaving process:


Step 8: Weaving the string
This step is optional. You can leave your string loose on the ring, or tie a smaller piece of string around the bunch to hold it together. Josh wanted to get fancy, and was excited about the weaving tutorial in the video shared above, so we decided to give it a shot. Again, check out the video for full instructions.


When your weaving is complete, remove the string, fabric, and ring from the board, then repeat the process on the other end of your hammock.
Step 9: Hang the hammock
We screwed two a heavy duty hooks into the beams on our deck, then hung the O ring on the hooks. Use heavy duty chain and a carabiner to add length if necessary.

Step 10: Enjoy!

Source: The Little Dog Vintage
Subscribe to:
Post Comments (Atom)
No comments:
Post a Comment